Linux is a family of open source Unix-like operating systems based on the Linux kernel, an operating system kernel first released on September 17, 1991, by Linus Torvalds.Linux is typically packaged as a Linux distribution (distro), which includes the kernel and supporting system software and libraries—most of which are provided by third parties—to create a complete operating system, designed as a clone of Unix and released under the copyleft GPL license. More about Linux
Steps to set up Linux in your System:
Uploading the ISO file to a USB Drive
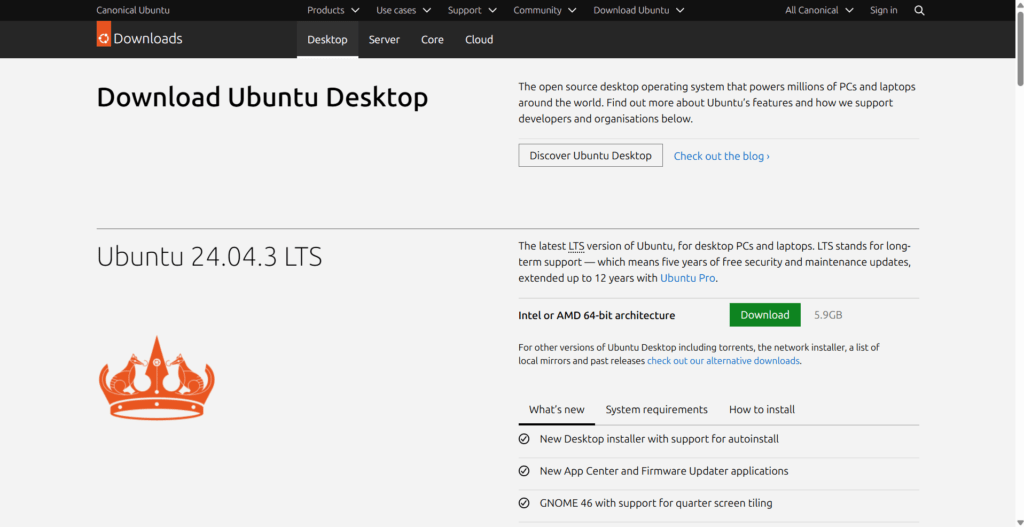
Step - 1: Download the ISO File
Download the ISO File of your preferred Linux Distribution from the official Webpage of your choosen Distribution. For example, we have Distributions like:
An ISO file for Linux is a disk image that creates a digital, sector-by-sector copy containing the complete file structure and data of Linux.
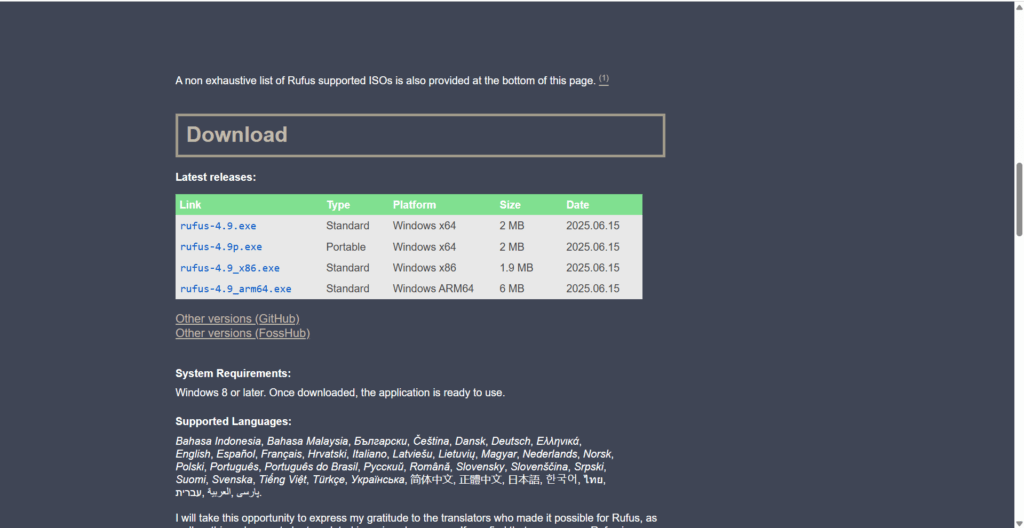
Step - 2: Download the Rufus or Belena Etcher
Rufus and BalenaEtcher create bootable USB drives by writing an Operating System or image file (like an ISO) to a USB Drive or a SD Card.
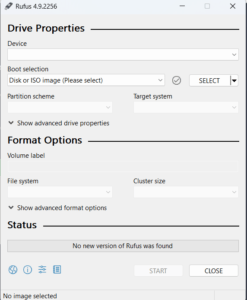
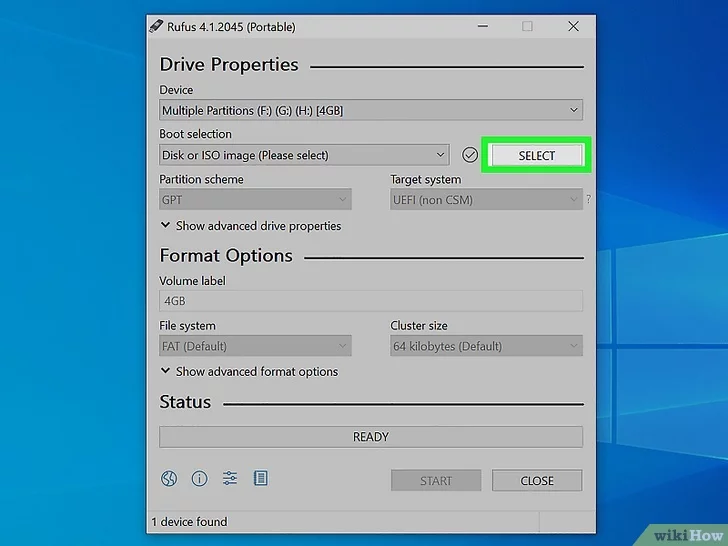
Step - 3: Run the rufus.exe fiel to open Rufus
In your file explorer, locate the downloaded rufus.exe file. Click on the file to run the application. Once the application is opened you can see the interface as the adjacent image.
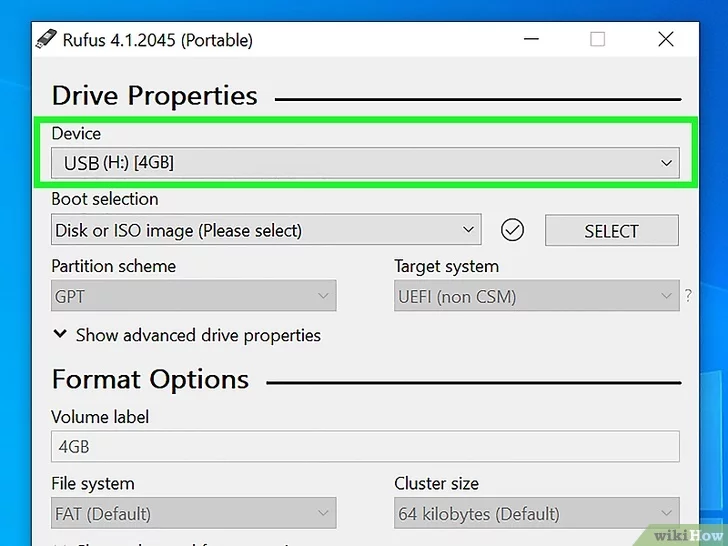
Step - 4: Insert the USB Drive and Select it
Insert your USB drive into a free USB port on your PC. Select the USB drive in Rufus application using the drop down menu.
Make sure you have a USB drive that is at least 32 GB. This will wipe out all the data in the USB Drive
Step - 5: Select the Linux ISO File downloaded
Insert your USB drive into a free USB port on your PC. Select the USB drive in Rufus application using the drop down menu.
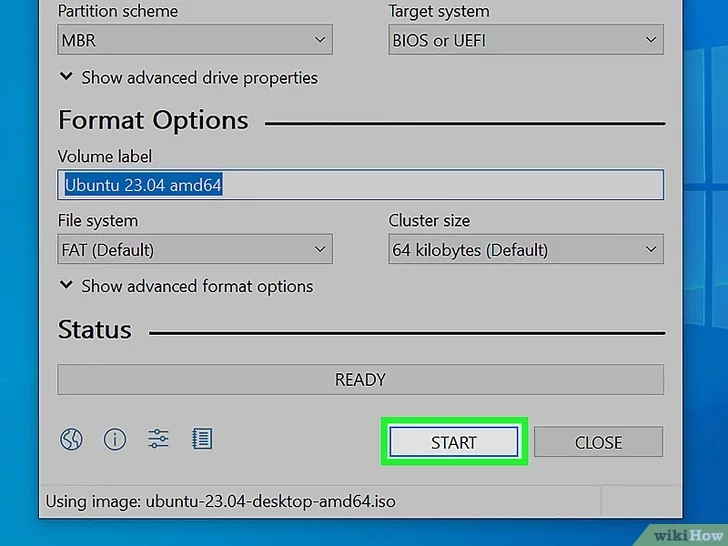
Step - 6: Click on the Start button
After selecting the required properties. Click on start button at the bottom. This would start the write the ISO Image onto the USB Drive. This might take a few Minutes to complete.
Booting from a USB Drive
Step - 1: Recover Windows and boot into BIOS of your system
Before booting your device, set up the recovery for the windows.
- Open Settings.
- Click Update & Security or System button.
- Click on Recovery.
- Click Advanced Start Up.
- Click Restart Now.
- Click Restart Now again.
- Click Troubleshoot.
- Click Advanced Options.
- Click UEFI Firmware Settings.
- Click Restart.
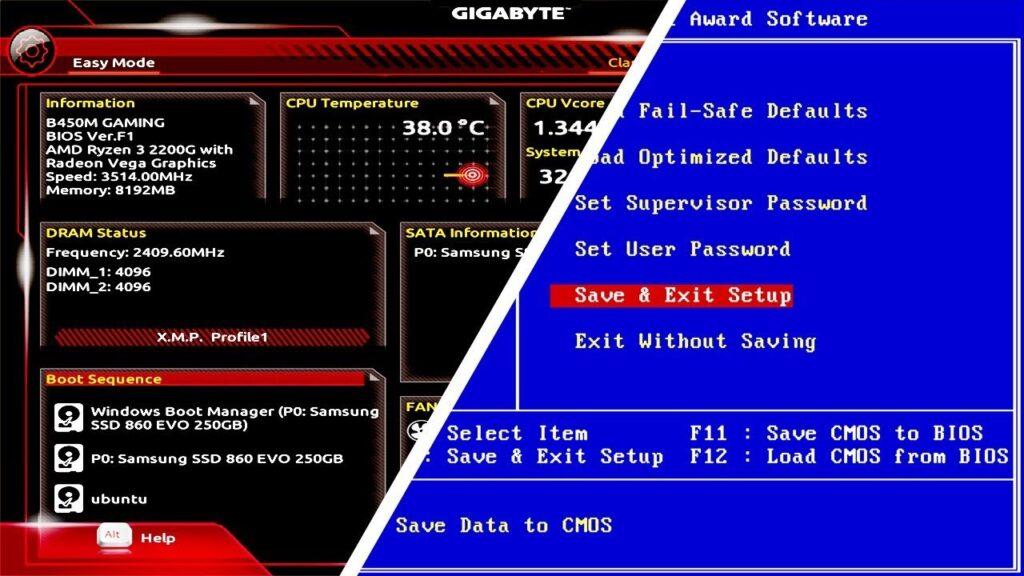
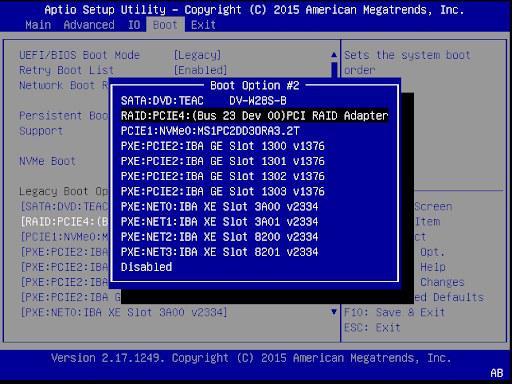
Step - 2: Change the boot order
The BIOS menu is different depending on what type of computer you have. Look for an option that says “Boot Order” or something similar. Select this option. Then arrange your available drives to boot from your USB drive first. Then select the option to save and exit the BIOS.
Step - 3 : Boot from the USB drive
Place your USB drive into a available USB port. Then restart the computer. When your computer boots up, it will boot from the USB drive before your standard hard drive.
Installing Linux
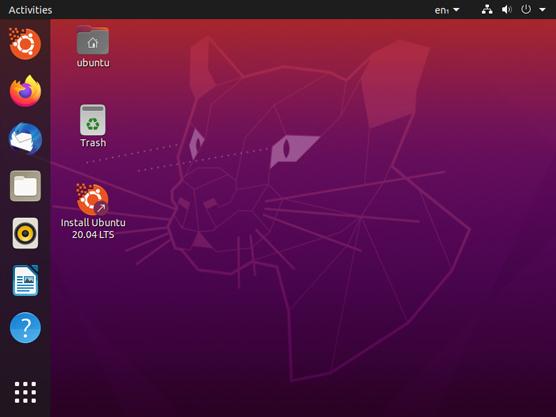
Step - 1: Check & Try out the live environment
Try out the Linux distribution before installing. Most Live CDs and USBs can launch a “live environment”, giving you the ability to test it out before making the switch. You won’t be able to create files, but you can navigate around the interface and decide if it’s right for you.
Step - 2 : Install linux distribution
The installation process for each Linux distribution is different. The process is fairly similar If you’re trying out the distro, you can launch the installation from the application on the desktop. If you decided not to try out the distribution, you can start the installation from the boot menu.
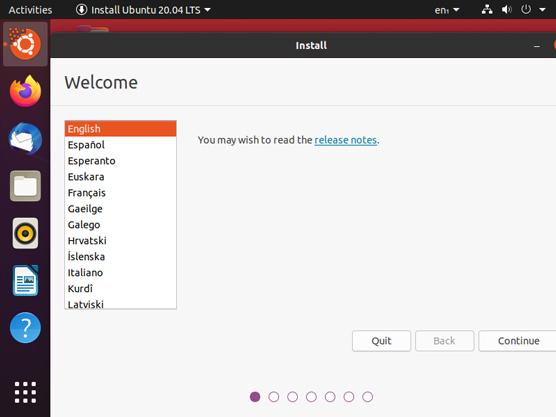
Step - 3 : Select the properties like language, layour and time zone
The initial step is setting up some basic configuration. Then, select the language, layout and time zone according to your preferences. Click on appropriate responses and click Next.
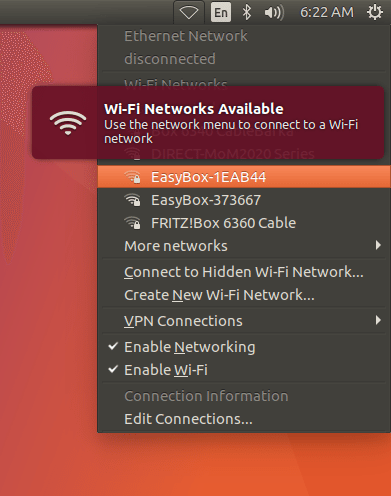
Step - 4 : Connect to the available Internet Source
Most Linux distributions require you to connect to the internet during the installation process. You can either connect using an ethernet cable, or you can select the option to connect to Wi-Fi and then select your Wi-Fi network and enter your Wi-Fi password.
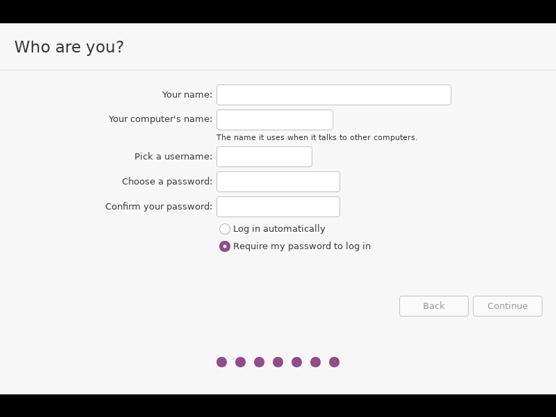
Step - 5: Setup an Username and password for your linux user.
You will need to create login information to install Linux. A password will be required to log into your account and perform administrative tasks.
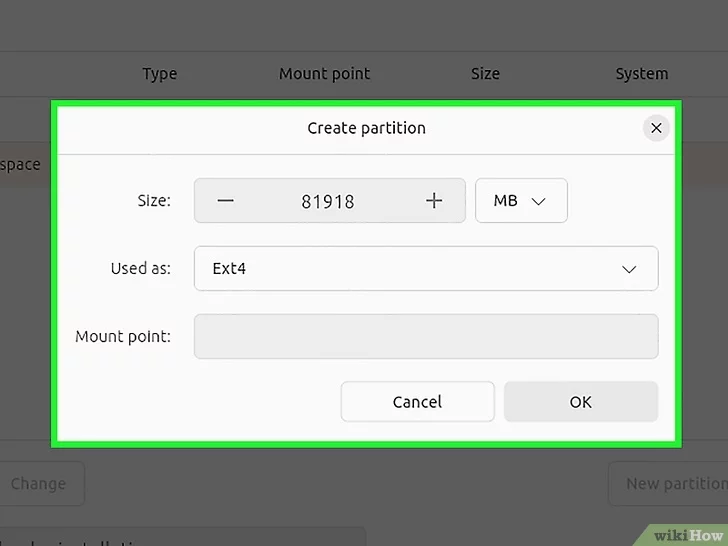
Step - 6 : Perform Partition for Linux on your hard drive / SSD.
If you intend to install Linux alongside another operating system (such as Windows), you will need to create a separate partition for Linux. Select the option to install Linux alongside your other operating system. Then set how big of a partition you want to create for Linux. Finally, select which partition you want to install Linux on. This would take a while
- Distros such as Ubuntu will set a recommended partition automatically.
- It is recommended you partition at least 40 GB for most Linux distributions.
- If the installation process does not give you automatic partitions, you will need to create a partition manually. Make sure that the partition you create is formatted as Ext4.
- If you are installing Linux as the only operating system on your computer, select the option to erase or format your hard drive and install Linux.
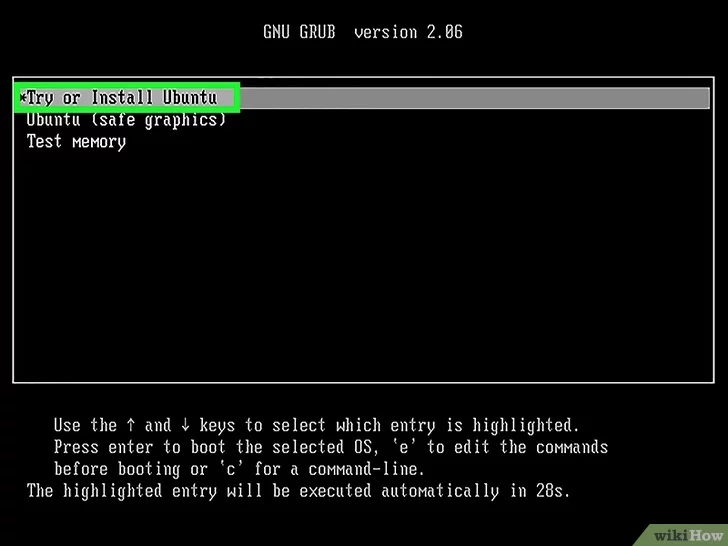
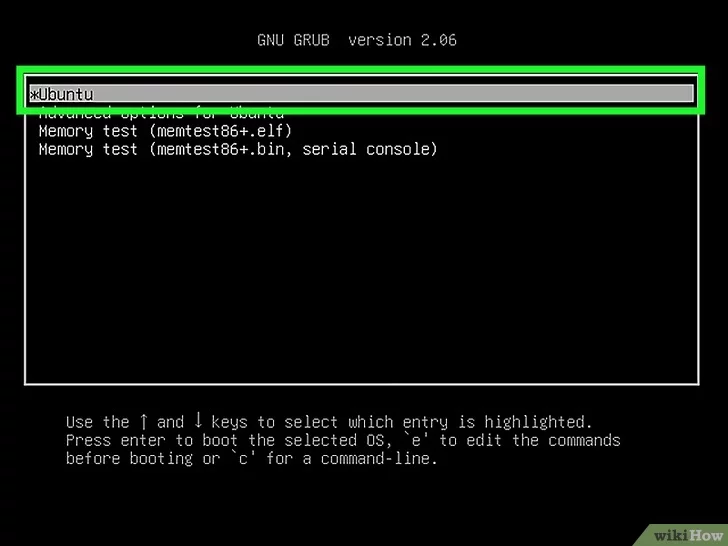
Step - 7 : Boot into Linux
Once the installation is finished, your computer will reboot. You will see a new screen when your computer boots up called “GNU GRUB”. This is a boot loader that handles Linux installations. Pick your new Linux distro from the list. This screen may not show up if you only have one operating system on your computer. If this screen isn’t being presented to you automatically, then you can get it back by hitting shift right after the manufacturer splash screen.
- If you install multiple distros on your computer, they will all be listed here.
- Make sure you remove your bootable USB drive before attempting to boot into Linux.
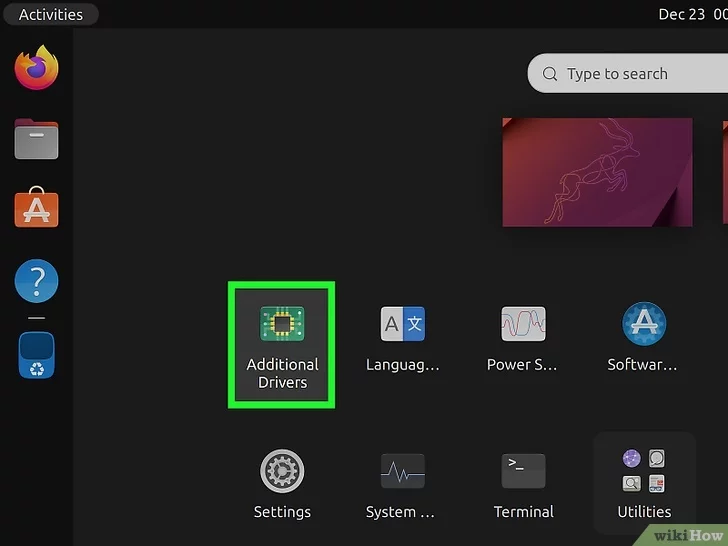
Step - 8 : Check the Hardware
Most hardware should work out of the box with your Linux distro, though you may need to download some additional drivers to get everything working.
- Some hardware requires proprietary drivers to work correctly in Linux. This is most common with graphics cards. There is typically an open-source driver that will work, but to get the most out of your graphics cards you will need to download the proprietary drivers from the manufacturer.
- In Ubuntu, you can download proprietary drivers through the System Settings menu. Select the Additional Drivers option, and then select the graphics driver from the list. Other distros have specific methods for obtaining extra drivers.
- You can find other drivers from this list as well, such as Wi-Fi drivers.